How to create, share and schedule a post
Paiger makes sharing posts easy. Use Ask AI to create text, upload your media, and schedule for a convenient time.
Contents:
- Writing a post
- Uploading your media
- Adding links and first comments
- Scheduling the post and other settings
To begin, click on 'Post' on the left of your dashboard & then select 'Write from Scratch.
If you wish to broadcast to your colleagues, select your users and preferences here:
To find out more about broadcasting, click here.
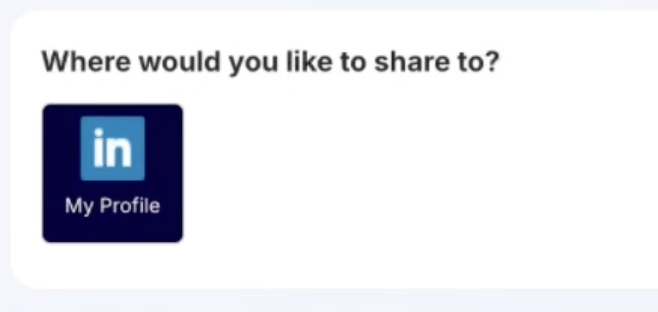
Next, select which channel(s) you would like to share to.
Next, you can write your post
If you are stuck for ideas, you can create a prompt and select 'Ghostwriter' to create it for you. For help with using Ghostwriter, click here.
If you are sharing an article, you can use Ghostwriter to extract content to include in your posts. Learn how here.
Paiger supports tagging companies and users on LinkedIn. If you have these set up, type '@' followed by the name.
Learn how to set up and use tags here.
Now you can select your media
To upload your own media, start by clicking on the "add an image" square and follow the prompts to upload your file. Paiger offers a variety of options for sharing media content.
1. Images: Upload JPEG or PNG format images, as well as GIFs if you prefer. Please note that multiple images are not supported.
2. Videos: Incorporate pre-made videos in MOV or MP4 format, with a maximum size of 1920 x 1080 pixels.
3. Carousels (PDFs): Upload PDF files to create a carousel or document post on LinkedIn. This feature is exclusive to LinkedIn and incompatible with Facebook, Instagram, or Twitter. Although the preview may not display multiple pages, they will be posted as a carousel.
Alternatively, you have the option to utilise Paiger's tools to generate your own content directly within the platform.
1. Record your own video
Click the video button under 'add an image' to record a video. Easily add subtitles and your company logo.
To find out more about using video, click here.
3. Select a branded image or GIF that your admin/marketing has uploaded to your account.
To do this, click on the briefcase icon.
Then enter the text you would like to have on the design, select your preferred template and click 'build image'.
This will generate an image for you.
From here add any links or comments that you would like to be included.
Links appear as a clickable button on LinkedIn below images. Note - this only works for LinkedIn and won't appear on any other social platforms.
After your post goes live, comments are automatically added to increase engagement. These comments usually appear within 5-10 minutes.

Alternatively, you also have the option to save your post as a draft. To access your saved drafts, simply go to your schedule and click on the "Drafts" filter located at the top left corner.
You can also choose a frequency for the post to be automatically reshared.
If you have set up categories, you can select this here. To find out about categories, click here.
In this section, you have the option to choose how frequently you want to reshare your post, making it easier to repurpose your content. To delete the reshare, head to the post on your schedule and click 'remove'.
Paiger supports different audiences on LinkedIn - to learn how to set this up, click here.

Note - if you are an admin, you can choose to add any posts to The Vault. Select this before clicking share.
Once you are happy with your post and chosen settings, click share and your post is then scheduled to go live!
To learn about your schedule, including editing posts, click here.
Paiger automatically saves your draft for a period of seven days if you leave the page. When you return to the page on the same device, you will be prompted with an option to either use the saved draft or create a new post from scratch.

